Before diving into the process of refinishing, it’s crucial to understand what sets engineered hardwood floors apart from other flooring types. Engineered hardwood floors consist of a real hardwood veneer attached to multiple layers of wood, which ensures durability and resistance to warping compared to solid hardwood. The thickness of this veneer varies, which can influence the feasibility of refinishing.
What You Need to Know Before Refinishing
Not all engineered hardwood floors are suitable for refinishing. The process involves sanding the surface layer, which means the hardwood veneer must be thick enough to withstand this. Typically, a veneer of at least 2mm can be sanded and refinished, but always consult with a professional before starting any refinishing project.
If you’re looking for local professionals to help determine if your floor can be refinished, consider our experts at Matt’s Professional Flooring for an assessment.

Step-by-Step Guide to Refinishing Engineered Hardwood Floors
Step 1: Preparing the Area
Before commencing the refinishing process, it’s important to prepare the working area. Start by clearing the room – remove furniture, rugs, and other movable objects. Check for any protruding nails or loose boards, and secure them accordingly.
After the room is cleared, thoroughly clean the floor to eliminate dust, grime, or any residual particles. A vacuum cleaner can be particularly handy for this task. Remember, a clean floor is a vital prerequisite for a smooth refinishing process.

Step 2: Sanding the Floor
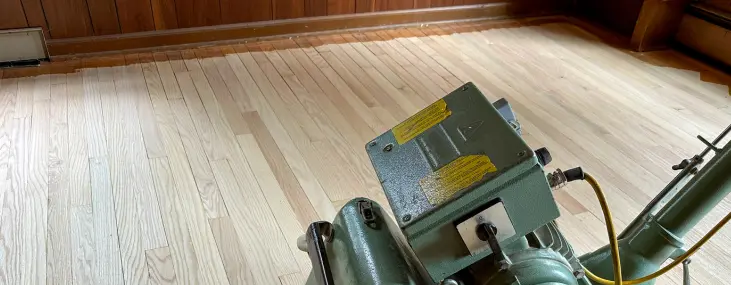
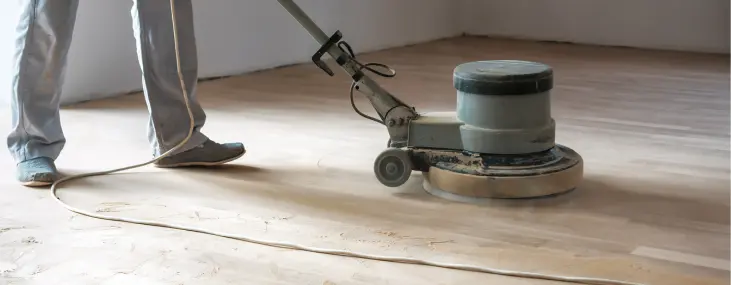
The second step is sanding the floors, a critical phase in the refinishing process. Sanding involves delicately grinding the top layer of the hardwood to eliminate the old finish and any surface defects. Given the thin veneer layer of engineered hardwood, it’s crucial to use a gentle, controlled approach to avoid penetrating too deep.
A power sander or orbital sander is often used for this task. Start with coarse-grit sandpaper to remove the existing finish and gradually switch to finer grits for a smooth surface. Always move the sander in the direction of the wood grain to prevent scratches and maintain an even surface.

Step 3: Staining
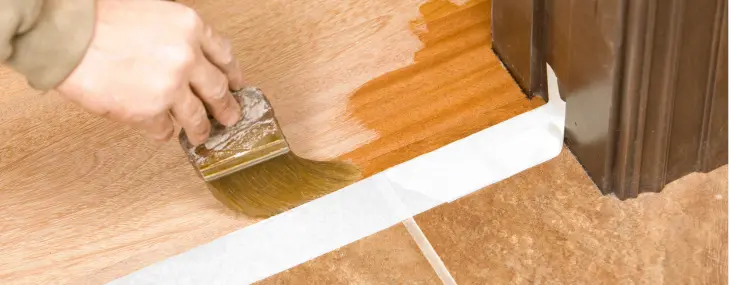
After sanding, it’s time to apply a fresh stain if you wish to alter the color of your hardwood floors. Remember, this step is entirely optional and primarily depends on your aesthetic preference. If you’re content with the natural color of your hardwood, feel free to skip this step.
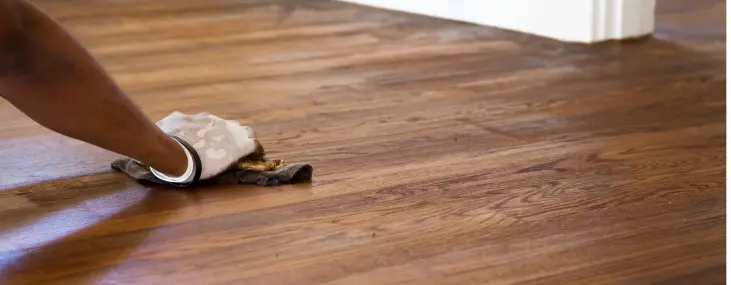
When applying stain, work in small sections and use a high-quality brush or rag for an even application. Ensure you follow the grain of the wood. After applying, allow the stain to penetrate the wood for the time recommended by the manufacturer, then wipe away any excess before it dries. Once stained, let your floor dry completely before moving to the next step.

Step 4: Applying the Finish
The last step in the process is applying a new finish to your floors, which protects them from damage and imparts a glossy, fresh look. There are several types of finishes available, such as polyurethane (both water-based and oil-based), penetrating oil, or hardwax oil, each offering different degrees of protection, sheen, and color.
Using a high-quality brush or roller, apply the finish in thin, even layers. Be sure to follow the wood grain to maintain consistency. Allow each coat to dry fully before applying the next – patience is key here, as rushing this step can lead to a patchy or uneven finish.
For a more detailed idea of how long each stage of the process may take, feel free to read our informative post on how long it takes to refinish hardwood floors.
Conclusion
Restoring the sparkle of engineered hardwood floors through refinishing is a viable and cost-effective strategy that not only prolongs the lifespan of your floors but also enhances the overall appeal of your space. While it’s certainly possible to undertake this project as a DIY endeavor, consulting with professionals or availing professional services can ensure the job is done right, safeguarding your valuable investment. For further understanding of your flooring options, check out our comparison guide on hardwood floor refinishing vs. resurfacing.
FAQs About Refinishing Engineered Hardwood Floors
Can Engineered Hardwood Floors Be Refinished Without Sanding?
Yes! “Screening and recoating” is a refinishing process for engineered hardwood floors. It involves removing the old protective layer and replacing it with a new one, without sanding the floors. This method works well for floors with shallow scratches or an old coating. Deeper scratches may require sanding for a smooth finish.
Can You Refinish Pre Finished Engineered Hardwood?
Yes, it is possible to refinish pre-finished engineered hardwood floors. Pre-finished engineered hardwood has a factory-applied finish that provides durability and protection. However, over time, the finish may wear down or become damaged, requiring refinishing.
What is The Best Finish For Engineered Hardwood?
Matt lacquer is a highly popular choice for engineered hardwood floors. It offers a natural and subdued appearance, allowing the wood’s beauty to shine through. Matt lacquer provides durability, protecting the floors from scratches and moisture. It is easy to maintain and complements various interior design styles. However, the choice of finish depends on personal preference and specific needs
Does Engineered Wood Flooring Need Oiling?
Engineered wood floors come pre-finished with a protective layer, making additional oiling unnecessary. The pre-existing finish is designed to provide durability and protection. Following the manufacturer’s maintenance instructions, such as regular cleaning, is sufficient for keeping the floors in good condition. If refinishing is needed, consult a professional for appropriate options.
